How to remove bike pedals & How to tighten bike brakes
PART1:How to remove bike pedals?
The pedal is the most inconspicuous part of the bicycle. It is often trampled under the feet and has a hard working environment. It is easy to be played.
Neglect of the home. Whether you load the car for the first time or remove the foot, the installation and disassembly of the pedal looks very simple, but the bread is very simple.
There are a few tips and precautions to keep in mind. Keeping in mind these tips will make your installation and disassembly of the pedals more effective.
Preparation Tools: 6 or 8mm Hexagon (15th) Wrench Lubricating Grease Plastic Gloves
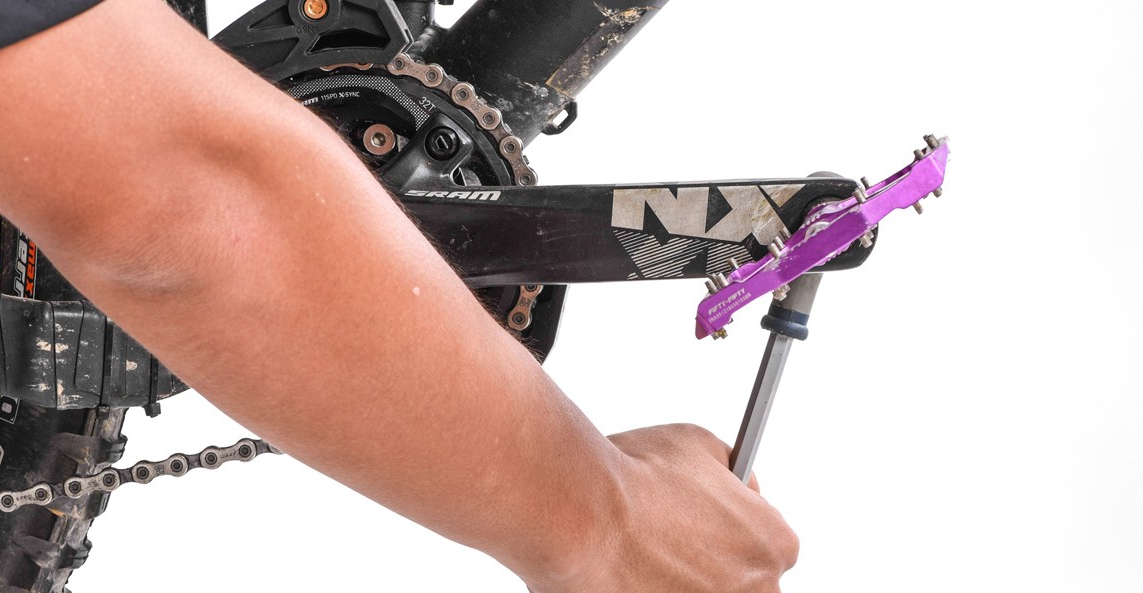
How to remove the pedal
Step 1: Install and remove the key points of the pedal. It is necessary to keep in mind the installation direction of the foot thread during disassembly and installation. The non-drive side crank thread is
Rotate counterclockwise, and the drive side crank end thread is clockwise thread. Remember to avoid mixing, otherwise it will be discovered after a long time.
In the opposite direction, this is embarrassing (don’t ask how I know it, it is tears when I say more).
Putting the bicycle on the ground will help you to work harder. Start with the drive side and turn the crank to the “3” o’clock position.
Hold the crank on the non-drive side with your hand, then use the 8mm Allen key to turn the pedal counterclockwise to remove it.
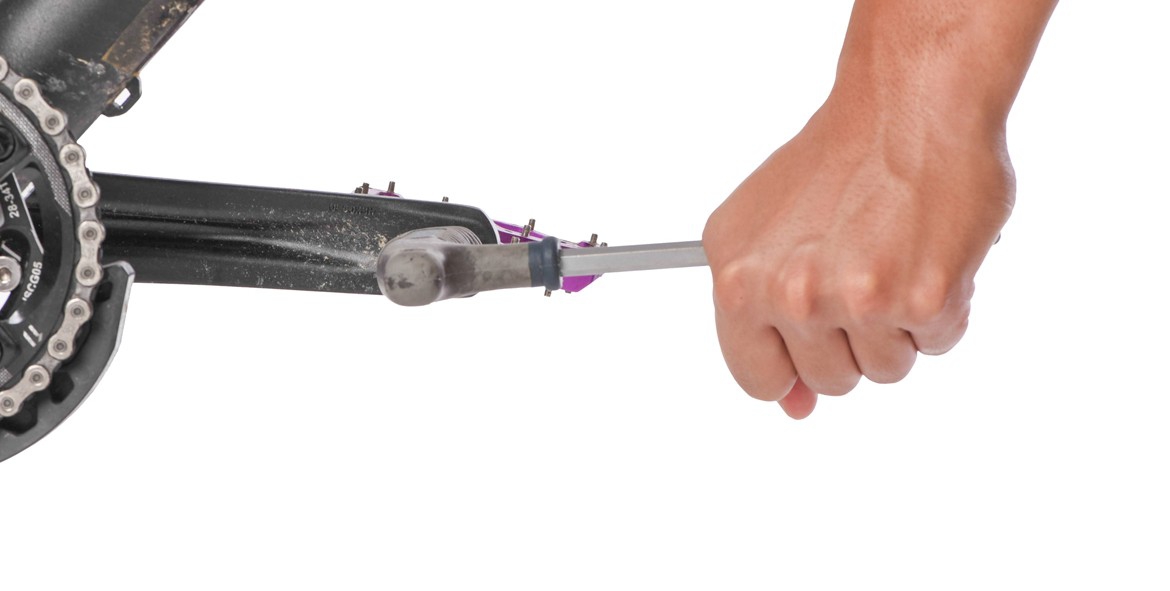
Step 2: For the non-drive side, the crank should be placed in a horizontal position, and then the hex wrench can be used to remove the pedals clockwise.
Disassembly with a foot wrench is also done in the same way. If the pedal does not move, you need to check if the disassembly direction is correct or used.
The WD40 osmotic lubricant is fully infiltrated and then removed.
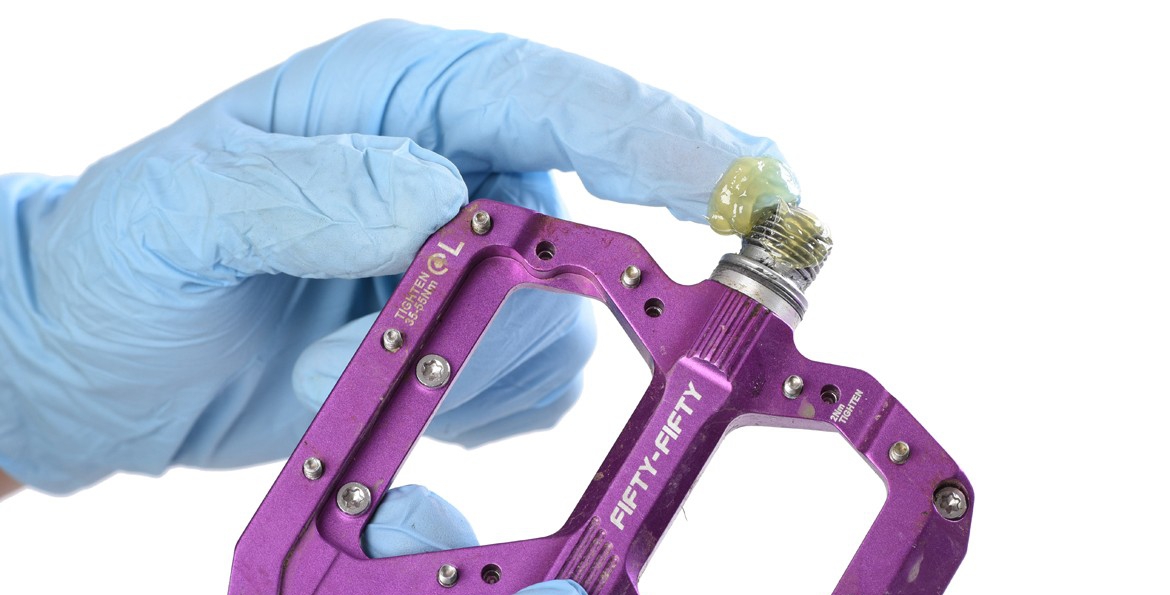
Step 3: If you want to install the pedals, before installing the pedals, apply a proper amount of grease to the pedal threads to prepare for the installation and apply oil.
Grease makes the pedal and crank installation process easy and makes the pedal more convenient when disassembling, effectively preventing the thread from interspersing with the crank
An abnormal sound has occurred.
Step 3: Firstly, tighten the pedal clockwise by hand to ensure that the pedal thread and the crank are in the correct position for faster operation.
Installation, tightening must be tightened, you can use the Allen wrench to speed up the installation, the pedal is initially tightened and then twisted with an Allen wrench
To the required strength.
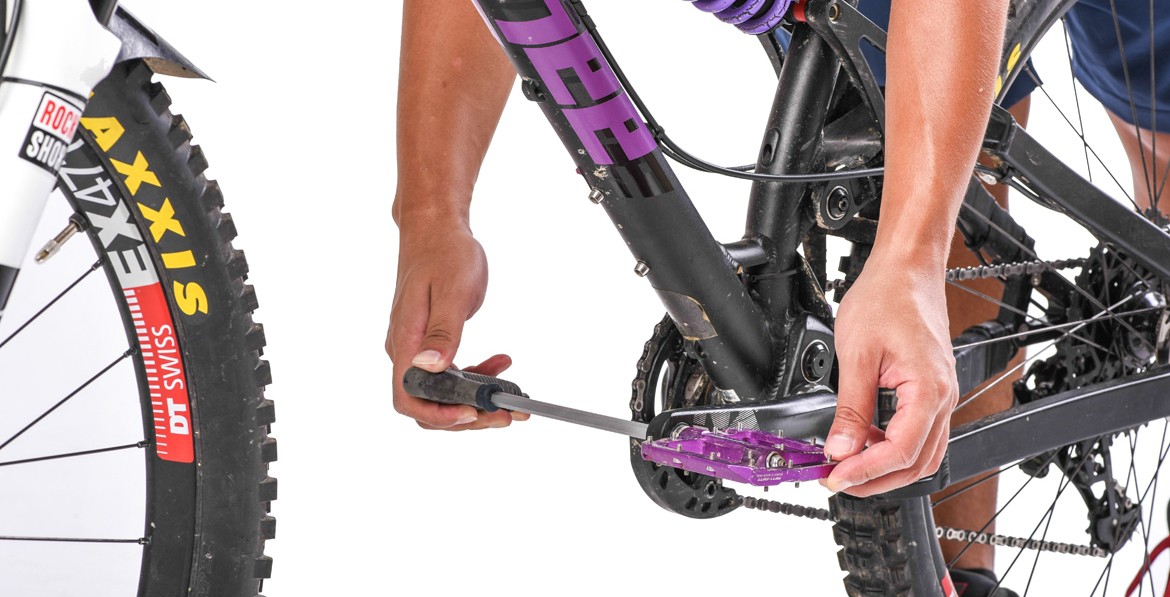
Step 4: Install the non-drive side pedal steps as above, first tighten the pedal counterclockwise by hand, then use the hexagonal tool to enter
Tightening, please ensure that the tightening force prevents the foot from loosening.
This is the end of the installation pedal tutorial. I hope this foot installation tutorial can help and inspire the entry-level riders. Remember any performance.
The more parts are inseparable from daily maintenance, only the proper maintenance can give full play to their greatest power. Finally, I wish you all a happy time in the mountains.
PART 2:How to tighten bike brakes?
Step 1: The discs on both sides of the disc brakes cannot hold the disc brakes, otherwise it will cause wear. If the right fixed disc is worn, it can be adjusted.
Wheels, or pick up the soldered patches.
If the inner piece of the brake is holding the disc brake, you can loose it slightly with a screwdriver.
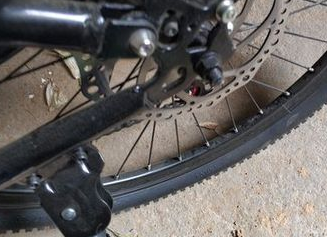
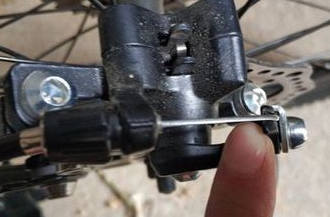
Step 2: Adjust the brakes, loosen the screws, and then lift the brake arms
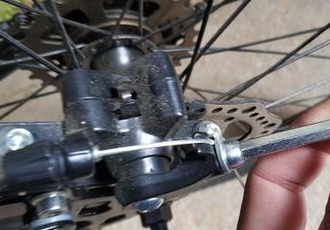
Step 3: Pull the wire outward, then tighten the screw, then press the brake arm down
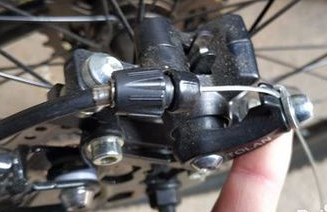
Step 4: Ensure that there is no gap in the handbrake, and at the same time, riding and debugging, it is required to press the general brake to lock it.
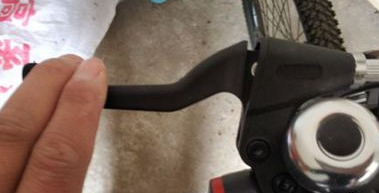
Press the brakes completely to tighten the disc brakes. The space left can be grasped by yourself, but it is required not to affect the wear of the disc brakes.
 hotebike